How to make a "Zap" using Upsales as the trigger or the action.
Zapier-Upsales use cases include:
-
PPC ad conversions generate recorded leads in Upsales
- New items in Upsales create new cards on a Trello board
-
Deals in Upsales create rows in Google Sheets
This article covers:
Connecting Your Upsales account to Zapier
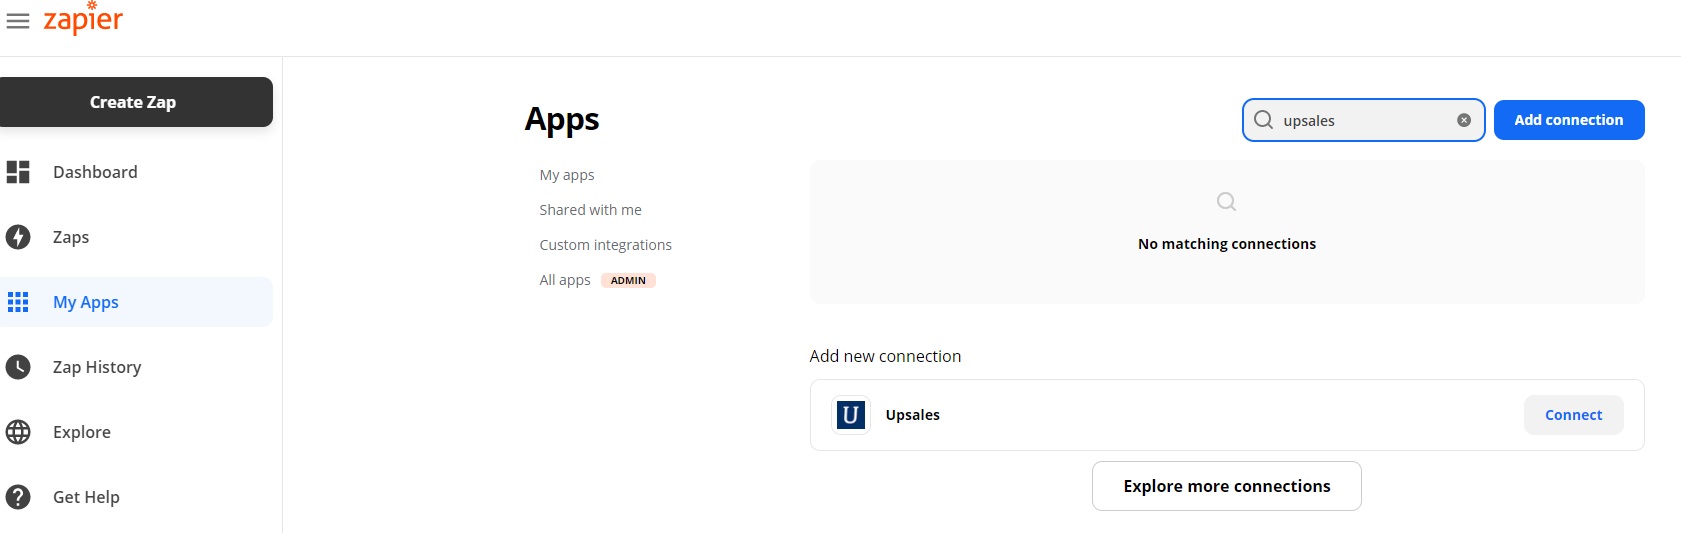
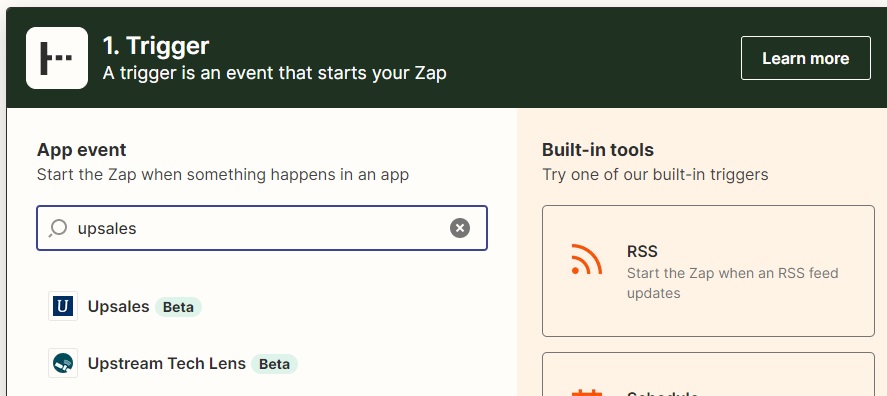
Open your Zapier account, click My Apps and search for Upsales:
-
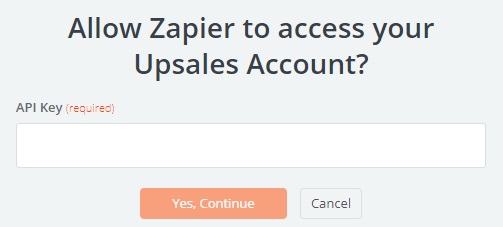
Click Connect, and a field for API key appears:
-
Open Upsales and generate an API key. Name the key "Zapier" (or something similar for easy identification)
-
The key only shows once, so we recommend saving the details somewhere secure
- Paste the API key you generated in Upsales into the API key field
-
Select Yes, Continue.
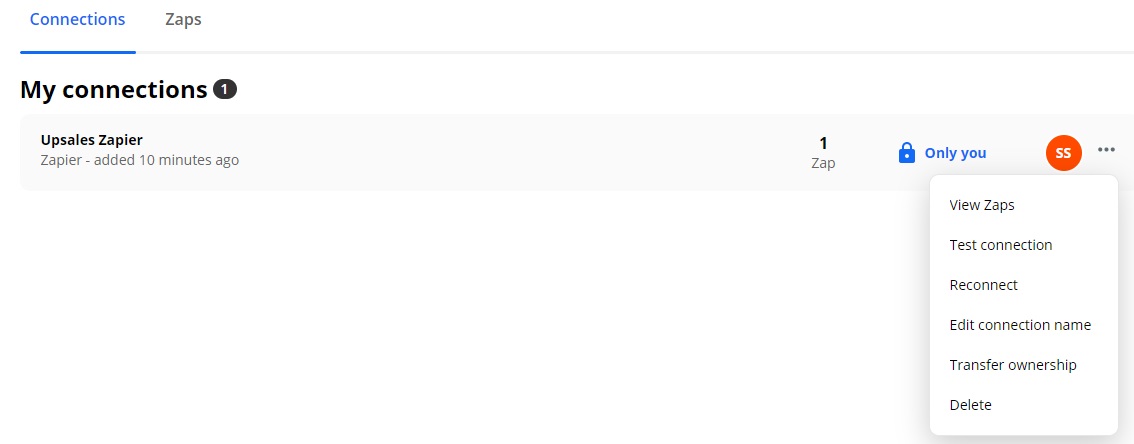
Upsales will show on your Zapier list of connected accounts, with options for testing the account, reconnecting it (which will allow you to paste in a new API key), or disconnecting the account.
Using Upsales as a Zapier Trigger
Triggers are the events that initiate a defined automatic workflow in Zapier.
To define an automatic workflow in Zapier using Upsales as a trigger:
-
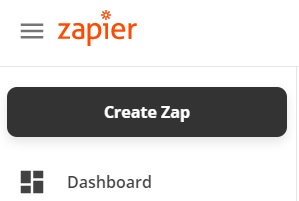
On the Zapier Home tab, Click Create Zap:
-
When the Choose a Trigger App screen opens, select Upsales:
-
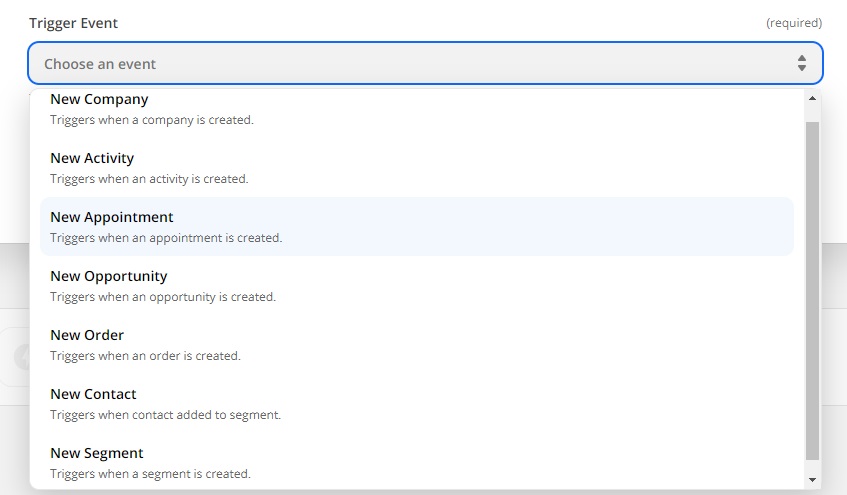
On the Select Upsales Trigger screen, you'll see multiple options for triggering a new event for your Zap:
-
Choose one of the Upsales Triggers, and click Continue.
-
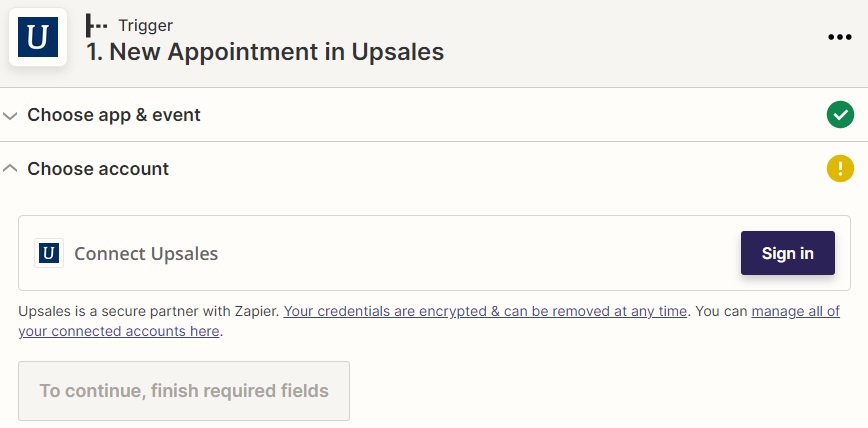
On the Select Upsales Account screen, you may need to sign in to your you have the option to Connect an Account as well:
-
Grant Zapier access using your API key
-
You can now test your Trigger

- You're now ready to add actions the Zap will perform.
To disconnect your Upsales account from Zapier, go to My Apps in your Zapier dashboard. Click Upsales, then the three dots and choose Delete:
Using Upsales as an Action in Zapier
Actions are events in a defined workflow, triggered by rules you set in Zapier.
To define an automatic workflow in Zapier using Upsales as an action, complete the following steps:
- After setting up your Trigger, click the + sign underneath:

-
When the Choose an Action App screen opens, select Upsales.
-
On the Select Upsales Action screen, you can choose the Action Event:
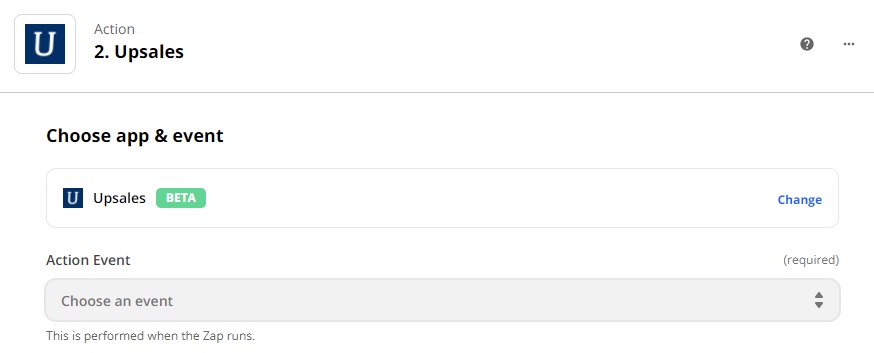
-
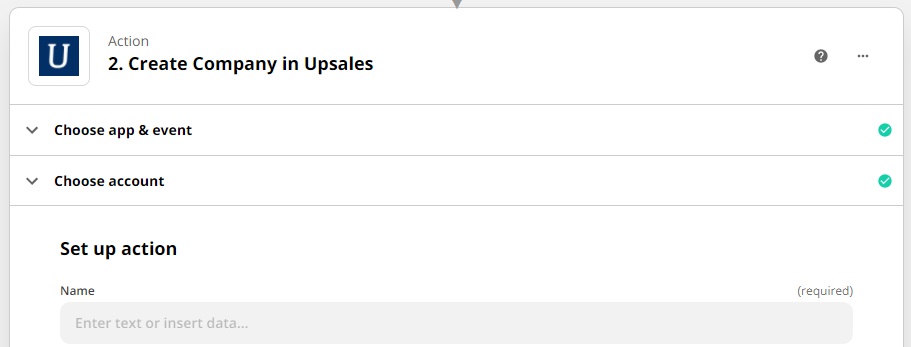
Then it's time to set up the action. You'll see different fields depending on what you're setting up:
- Zapier will ask you to complete a Test Action to make sure everything is working
- You can now continue adding any further steps you wish to.
-
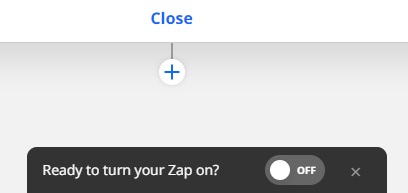
When you're finished, it's time to turn your Zap on!