With Upsales Events, it's easier than ever to connect with your customers and leads. You can combine the power of email campaigns, online advertising, forms, landing pages, and social media. Together it's your all-in-one tool for launching, managing and tracking great events.
This article covers::
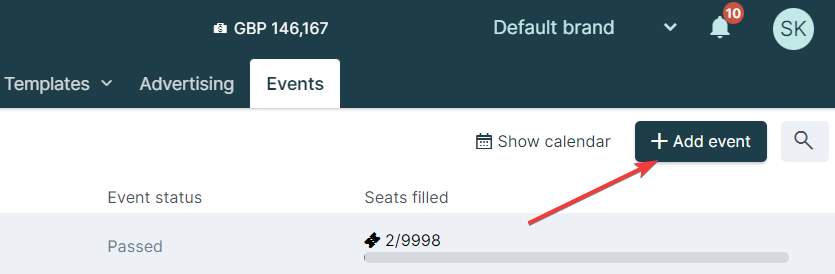
To save time when creating an event, duplicate an event that's passed. Then make edits. Simply click an event that's passed, and then click the duplicate icon:

How to create an event
-
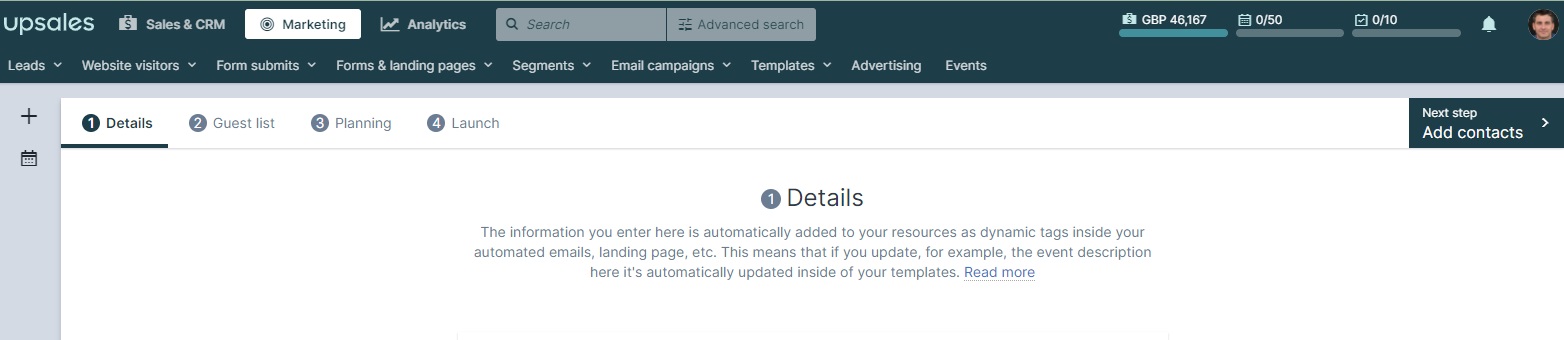
Click Marketing → Events:

-
Click Add event:
-
This opens up the event details:
-
Add the Public event name (the name invited contacts will see)
-
If your Marketing Administrator has enabled , set these up here:

-
Add the Start and End date and time for the event:

-
Enter an Internal event name that will show on your internal event lists
-
Enter a Registration score to define the marketing score added to a contact for registering for this event
-
Enter a Check-in score to define the marketing score added to contacts who attend the event:

-
Enter a Description for your event, which is the information that contacts you invite will see.
-
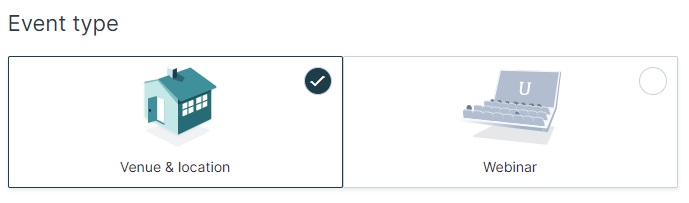
Select the Event type as Venue & location or Webinar:
-
For a Venue & location event:
-
Enter the Venue name for the location where the event will be held. Contacts you invite will see the Venue name.
-
Enter the Address for the location where the event will be held. Contacts you invite will see the Address.
-
For a Webinar:
-
If you have an integrated Zoom Webinar for Upsales account, select Zoom. The webinar link will be created in Zoom and will appear on your resources and automated emails. The customer's status will be updated in Upsales when they attend the webinar
- Otherwise, select Other and enter the URL for the webinar
-
Click the toggle to make the webinar available on-demand afterwards:
-
You can add a URL where people can view the webinar on-demand. To automatically include the URL in event-related emails, simply insert the tag {{Mail.OnDemandLink}}
-
If desired, enter the Total number of seats to define how many people can attend this event. If you limit the number of seats, you can also define a Message when the event is full and Enable a waiting list:
-
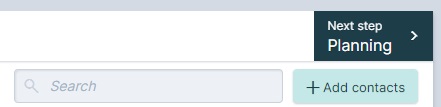
Select Next step Add contacts to continue:

How to invite guests
-
To use a saved segment, select the Segment from the dropdown list. Then click Add contacts:
-
Or select contacts individually. Click the Select contacts one-by-one link and begin typing the contact’s name. Select the contact’s name from the list of matching contacts. You can select Add contacts to invite individual contacts or using a segment:

-
Whether you add contacts individually or using a segment, you can on the guest list.
-
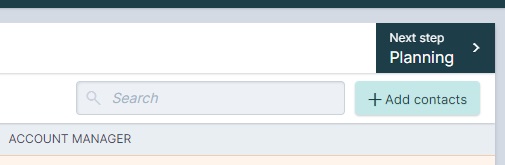
Select Next step Planning to continue:
How to create event resources
Click the Planning tab:
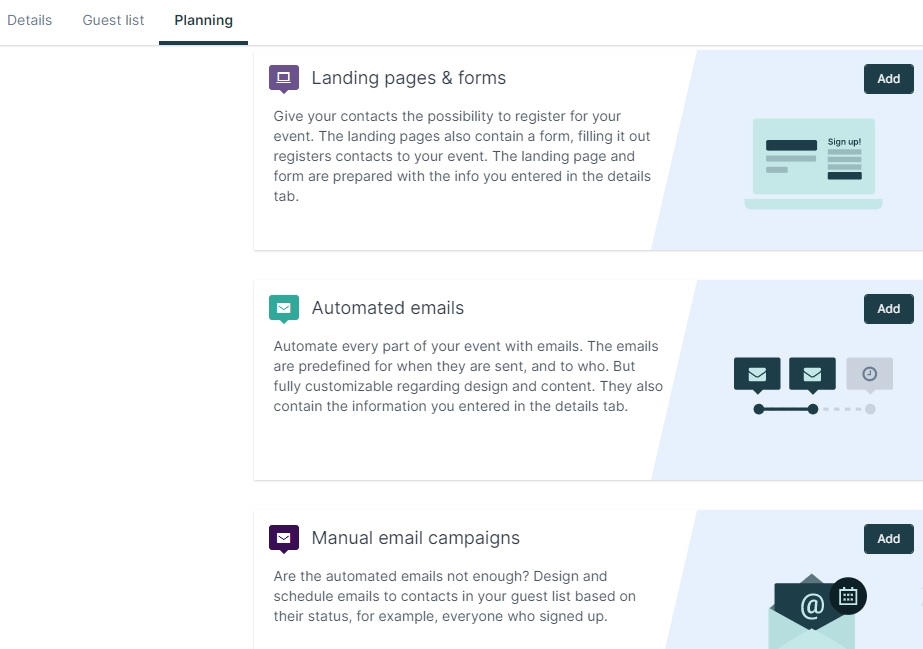
You can create resources for your event, including:
How to launch an event
On the final screen of the event set up:
- Review your event name and date.
- Edit your guest list and review any email address errors.
-
When the invitations and resources are ready, you're ready to launch your event
Close an event without launching, and it stays available from your events list with a Draft status
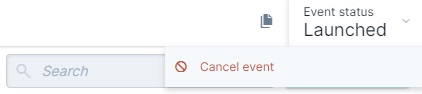
How to cancel an event
-
Click Marketing → Events:
- Click the event you want to cancel
-
Click the event status dropdown and click Cancel event: